Sunlight streams across your backyard as you gather crisp, just-picked vegetables, filling the air with the promise of new flavors developing in your kitchen. Fermentation opens the door to turning ordinary garden harvests into bright, tangy treats that can surprise your taste buds. With each batch, you add bold colors and lively tastes to your table, while learning a traditional craft that brings satisfaction and freshness to everyday meals. By exploring fermentation, you enjoy a rewarding way to use seasonal produce, making each meal a little more exciting and each bite a celebration of what you’ve created by hand.
Starting your own fermentation journey can be a refreshing escape from routine cooking. It brings you closer to traditional methods while giving you the freedom to experiment with flavors. Each batch tells its own story, and the experience is as rewarding as the final taste. Whether you're a seasoned cook or just curious about food preservation, fermenting seasonal vegetables at home opens up a world of creative culinary options.
Why Ferment Seasonal Vegetables?
Fermenting vegetables isn’t just about preserving food—it’s a gateway to a richer, more adventurous eating experience. As you explore this craft, you’ll find that it enhances both the texture and nutritional value of your produce. Many home fermenters enjoy the mix of science and art that goes into crafting their perfect batch.
The benefits of fermentation are numerous. Consider these key points as motivation for trying it out:
- Boosts the natural flavors, making each bite uniquely refreshing.
- Adds beneficial probiotics that are great for your digestion.
- Preserves seasonal vegetables, extending their shelf life without additives.
- Encourages creativity in the kitchen with countless flavor combinations.
- Provides a satisfying, hands-on activity that connects you to traditional culinary practices.
Essential Equipment and Ingredients
Before diving into the fermentation process, gather the right tools and ingredients. Setting yourself up properly helps ensure your experiments turn out well and remain safe for consumption. The initial setup might sound like a lot, but once you have these items, you can easily explore a range of vegetables and recipes.
Here’s a numbered list of the basics you’ll need to begin your fermentation adventure:
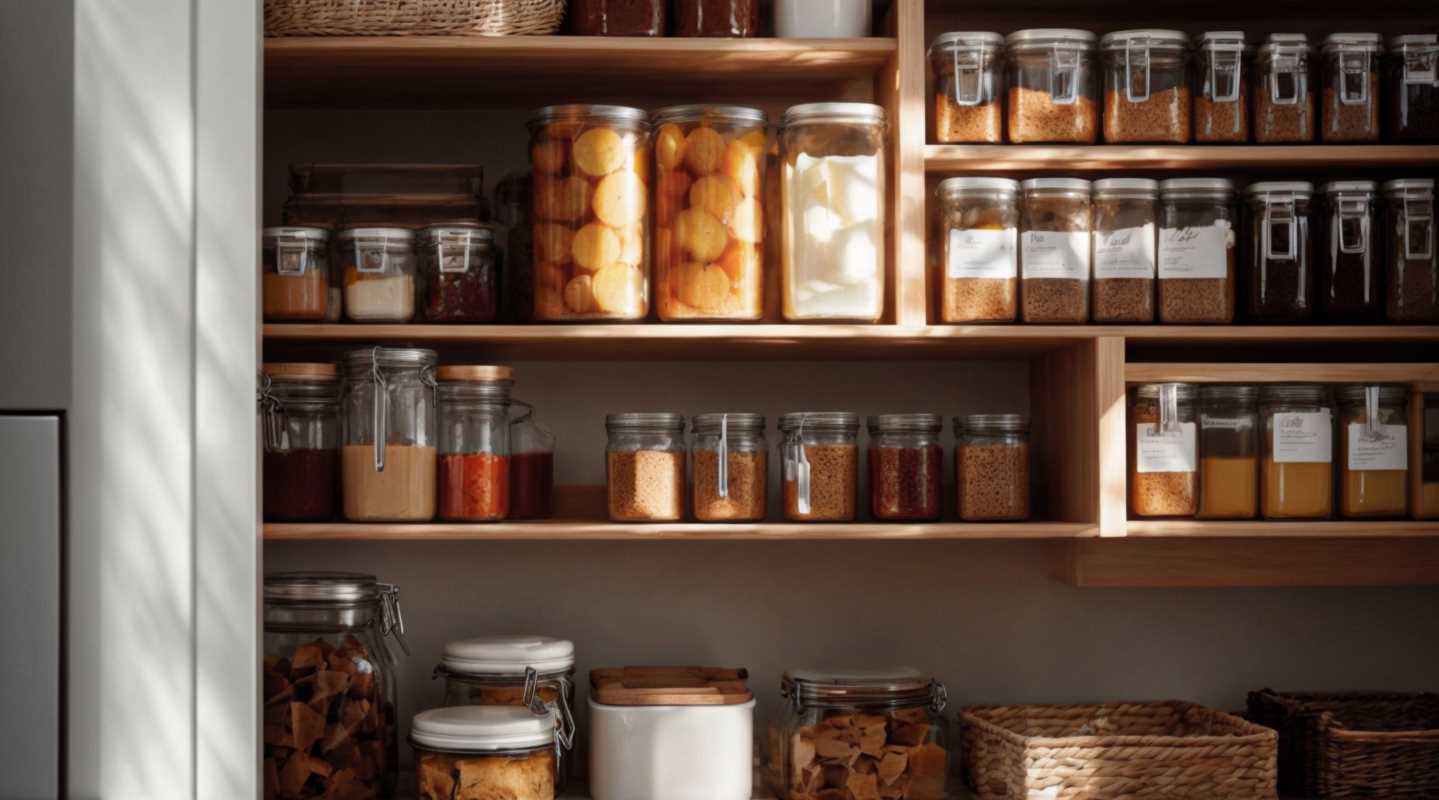
- Glass jars or ceramic crocks in varying sizes for different batches.
- Non-iodized salt to create the ideal brine for your vegetables.
- Clean water, preferably filtered or boiled and cooled, to dissolve the salt.
- A weight or a clean object to keep the vegetables submerged during fermentation.
- A breathable cloth or fermentation lid to cover the jar while allowing the release of gases.
Step-by-Step Guide to Fermenting at Home
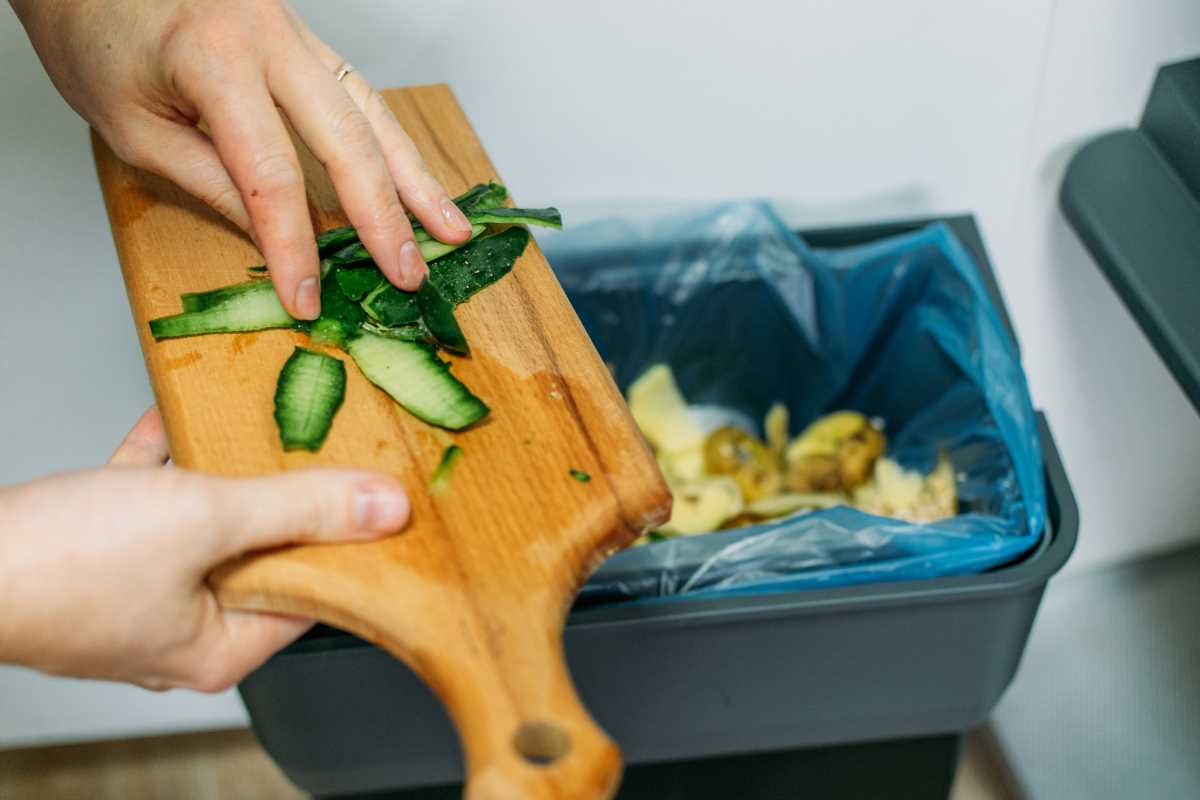
Getting started with fermentation is easier than it might seem. Begin by selecting your star vegetables—think crunchy carrots, crisp cucumbers, or tangy radishes. Wash them thoroughly, then cut or shred them based on your recipe preferences. The slicing not only speeds up the fermentation process but also allows the brine to infuse deeper flavors into each piece.
Next, mix your salt and water to create a brine solution. Toss your vegetables into the jar and pour the brine over them, ensuring every bit is covered. Press down on the vegetables with your weight to keep them submerged. Tuck the cloth or lid over the opening and set your jar in a cool, dark place. In a few days, you’ll notice the transformation as bubbles form and the vegetables develop a pleasantly tangy aroma. Remember to check on them daily and remove any foam or scum that appears on the surface to keep your fermentation process on track.
Troubleshooting Common Issues
Even with careful preparation, small hiccups can occur, especially when you're just starting. Recognize common problems early so you can adjust your process as needed. Fermentation requires patience and attention, and understanding these issues can save your batch.
- If your vegetables appear slimy, it might mean they were not fully submerged or the salt concentration was too low.
- Cloudy brine can signal active fermentation, but if it becomes murky or develops an off smell, check for contaminants.
- Hard textures might result from not salting enough; increasing salt in your next batch may help soften them during fermentation.
- An overly sour taste usually indicates fermenting the batch too long, so keep track of your timing.
Creative Ways to Enjoy Your Fermented Vegetables
Once your fermenting journey produces a delicious result, the fun really begins. Fermented vegetables can stand alone as a tangy snack or add a burst of flavor to many dishes. Their vibrant profiles blend well with a variety of foods from simple to sophisticated, encouraging you to create exciting new meals.
Try adding these zesty veggies as a topping on your favorite salads or sandwiches. They can brighten up a bland burger or serve as a side dish to spice up an ordinary dinner. Finely chopped, they work well mixed into slaws or grain bowls for an added crunch.
Using your homemade ferment in unexpected places develops not only your cooking skills but also a renewed appreciation for the seasonal ingredients you work with. Try serving them with warm stews, or mixing them into a zesty salsa to add a special kick to your gatherings. Every new batch offers a chance to adjust and refine your approach, turning simple ingredients into culinary delights.
Remember that fermentation can be as much about the process as the final product. Experiment with different vegetable combinations, salt ratios, and fermentation times to find flavors that suit your taste perfectly. Each batch provides a learning opportunity, and soon you’ll develop an instinct for what works best in your kitchen.
Fermentation can begin with one jar and soon become a rewarding hobby. Enjoy each step and let curiosity inspire your kitchen adventures with *fermented* foods.
 (Image via
