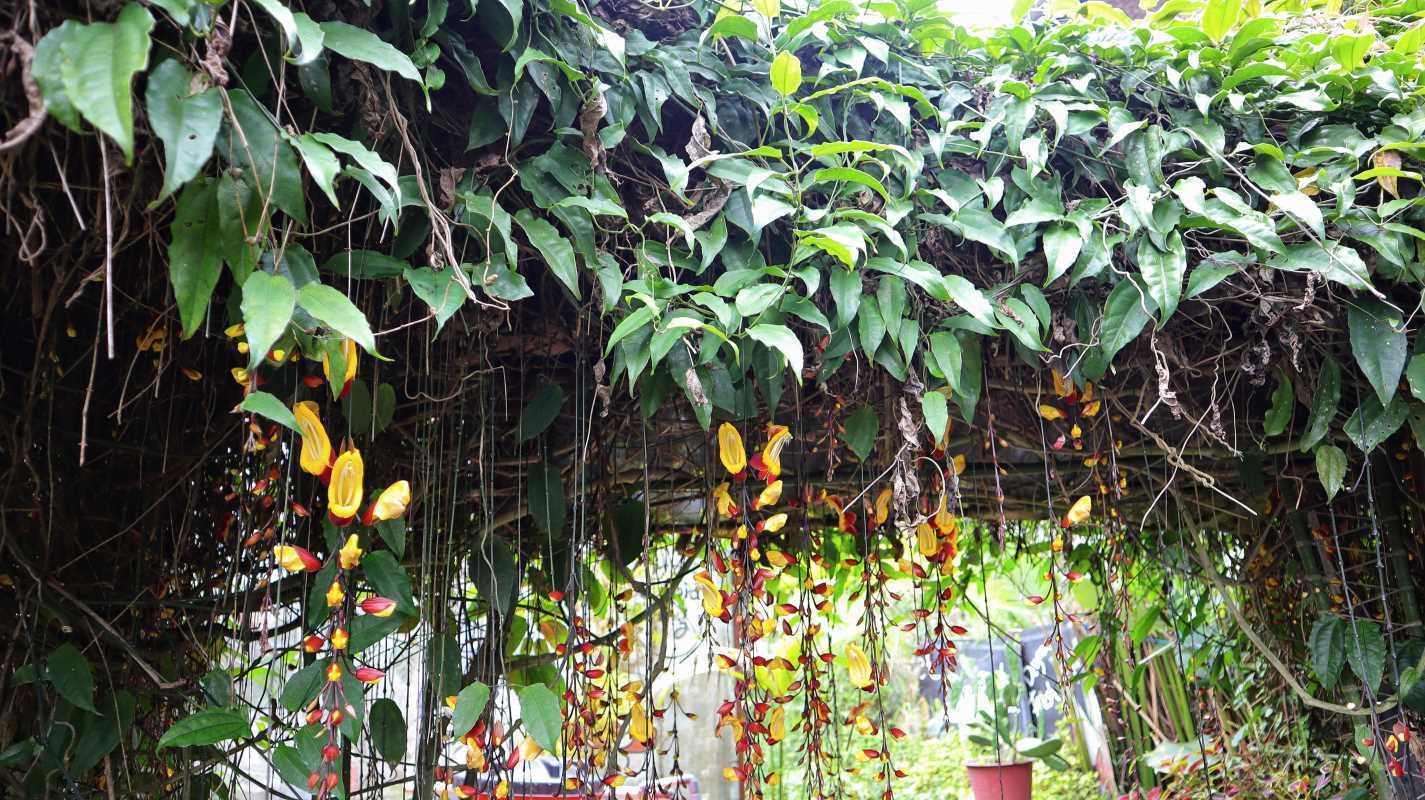
A rooftop can become a vibrant retreat where you unwind with a cup of coffee surrounded by blooming sedums or enjoy warm evenings under twinkling string lights. Butterflies visit the flowers as you relax or gather with friends in this unique outdoor haven. Creating a green roof garden brings these enjoyable moments to life while also offering practical benefits, such as improved insulation and better stormwater control. With thoughtful preparation and a bit of effort, anyone can turn a plain rooftop into a welcoming extension of their home. The result is a peaceful spot that blends the comforts of the indoors with the beauty of nature.
This guide walks you through each phase—from sketching out your vision to ongoing upkeep. You don’t need to be a professional landscaper. Embrace DIY spirit, learn a few industry tricks, and watch your rooftop flourish into an inviting hangout.
Planning Your Green Roof Garden
Start by checking your building’s weight limits and local regulations. Some roofs require a structural engineer’s sign-off before you load them with soil and planters. Measure your space and note any obstacles like vents or skylights. Sketch a layout that balances planting zones with seating, pathways, and storage for tools.
Factor in sun exposure and wind patterns. If your roof bakes in full sun all day, pick drought-tolerant plants and include shade elements such as a pergola or freestanding umbrella. For wind-prone rooftops, plan sturdy furniture and tall planters to serve as windbreaks. A solid plan saves time and budget when you move on to ordering materials.
Select Plants and Materials
- Drainage and water-retention mats: use products like HydroBlox for efficient drainage under planting layers.
- Root barrier membrane: choose a durable option such as RootBarrierPro to protect your roof deck.
- Growing medium: mix lightweight materials—cinder, expanded shale, horticultural compost—for good aeration and nutrient hold.
- Plant palette: sedums, low-growing succulents, and hardy grasses thrive with minimal upkeep. Add herbs like thyme and rosemary for fragrance.
- Planters and raised beds: use lightweight fiberglass or recycled plastic to prevent excess load on the roof structure.
- Outdoor furnishings: pick foldable chairs and a small bistro table for flexibility. Store cushions in waterproof boxes.
Shop for supplies early, since shipping can delay heavy items like growing media. Call local landscaping suppliers for delivery options or consider renting a small crane for heavy lifts if stair access is limited.
Building the Roof Structure
First, clear debris and inspect the roofing membrane for damage. Repair cracks or blisters to ensure waterproofing. Lay down your root barrier membrane across the entire usable area, overlapping seams by at least six inches. Seal seams with manufacturer-approved tape to prevent roots from penetrating the roofing layer.
Next, roll out drainage mats directly on top of the barrier. The mats channel excess water toward roof drains and help prevent waterlogging. Secure mats according to guidelines so they won’t shift under planting layers. Install edging around the roof perimeter to hold soil in place and give your garden clean lines.
Installing the Garden Layers
Now you’ll stack the growing medium in sections about four inches deep. For seating areas, plan a thinner soil layer or use pavers to create walkways. Spread the lightweight mix evenly and rake it smooth. Water gently to help soil settle without washing away nutrients.
Place planters and raised beds before adding plants if you want exact spacing. Then tuck sedum mats or plug plants into the soil. Group plants by water needs: drought-resistant patches on sunny edges, moisture-loving herbs near seating where you’ll water more often. Mulch exposed areas with pea gravel or decorative river rock for texture.
Finally, install drip irrigation or soaker hoses on a timer, if you plan to be away often. A simple hose-end timer also works well for routine watering. Aim for a deep soak once or twice a week rather than daily misting.
Designing Outdoor Living Space Features
Incorporate seating that resists wind and sun damage. A built-in wooden bench along one side can double as planter seating if you build storage compartments underneath. Add comfy, weatherproof cushions in natural tones to keep the vibe cozy but understated.
Set up lighting for evening ambiance—string lights hung between anchored posts, solar path lights along walkways, or low-voltage LED strips under bench seats. A small fire pit or propane heater will extend your rooftop season. Keep safety in mind: choose a UL-certified fire pit and maintain a clear buffer from planters and furniture.
For shade, tether a lightweight sail shade between anchor points, or build a simple pergola with climbing vines like clematis or jasmine. These structures create a living canopy that cools the space and adds a vertical green element.
Maintenance Tips
- Check weekly for drainage blockages. Clear debris from mats and drains to prevent pooling water.
- Prune and thin out plants seasonally. Remove spent blooms to encourage fresh growth and avoid overcrowding.
- Monitor soil moisture regularly. Use a moisture meter or your finger; water deeply when the top inch feels dry.
- Feed plants twice a year with a slow-release fertilizer. Spread granules evenly and water lightly to activate nutrients.
- Watch for pests and diseases. Handpick slugs, treat fungal spots with a diluted neem oil spray, and pull any invasive weeds promptly.
Keep a small toolkit and extra materials on hand—landscape fabric, zip ties for securing mats, and seam tape for emergency membrane repairs. These simple supplies help you react quickly to small issues before they turn into major headaches.
Enjoy an inviting rooftop garden with city or treetop views. Regular maintenance keeps it lush, so you can focus on relaxing and enjoying your space.
 (Image via


