.jpeg) (Image via
(Image viaAdopting a zero-waste lifestyle not only lightens your impact on the environment but also sparks creativity and boosts self-reliance. Crafting a homemade grain mill from recycled materials presents a wonderful opportunity to support sustainability while relishing the taste of freshly processed whole grains. This hands-on project resonates with eco-friendly principles, giving you the chance to handle your own grains. Additionally, it helps reduce waste by cleverly repurposing items you already possess. Engaging in such a fulfilling endeavor allows you to embrace a greener path and appreciate the simple joys of a more sustainable way of living.
Materials Needed
- Two sturdy wooden boards (from reclaimed pallets)
- Old screws and nails
- Used metal bolts and washers
- A discarded hand-crank mechanism (from a broken machine or appliance)
- Scrap metal pieces for grinding plates
- Sandpaper and a drill with various bits
- Reusable clamps or strong adhesive
Searching for these materials can be both fun and rewarding. Visit local thrift stores, salvage yards, or community recycling centers to find suitable items. Online marketplaces and community groups often have listings for free or low-cost recycled materials. Inspect each item for durability and safety before incorporating it into your grain mill.
Step-by-Step Guide to Building Your Grain Mill
- Prepare the Wooden Base: Smooth the reclaimed wooden boards using sandpaper to remove any splinters or rough edges. Arrange the boards to form a stable base, securing them together with recycled screws and nails.
- Attach the Hand-Crank Mechanism: Position the discarded hand-crank mechanism on the wooden base. Use metal bolts and washers to firmly attach it, ensuring smooth operation.
- Create the Grinding Plates: Cut the scrap metal pieces into matching circles that fit snugly within the base. Drill small holes around the edges to facilitate airflow during grinding.
- Assemble the Grinding Assembly: Mount the grinding plates onto the crank mechanism, ensuring they align properly. Secure them with reused screws, checking for stability.
- Test the Grain Mill: Start cranking to test the functionality. Adjust the alignment of the grinding plates if necessary to achieve a consistent grind.
- Final Touches: Add any additional reinforcements using clamps or strong adhesive to ensure all parts remain securely in place during use.
Benefits of Using a Homemade Grain Mill
- Reduces reliance on store-bought milling equipment, lowering your carbon footprint.
- Ensures fresh, preservative-free grains for healthier meals.
- Promotes resourcefulness by repurposing materials that would otherwise become waste.
- Cost-effective, saving money by building your own mill instead of purchasing a new one.
- Provides a hands-on project that enhances your understanding of sustainable practices.
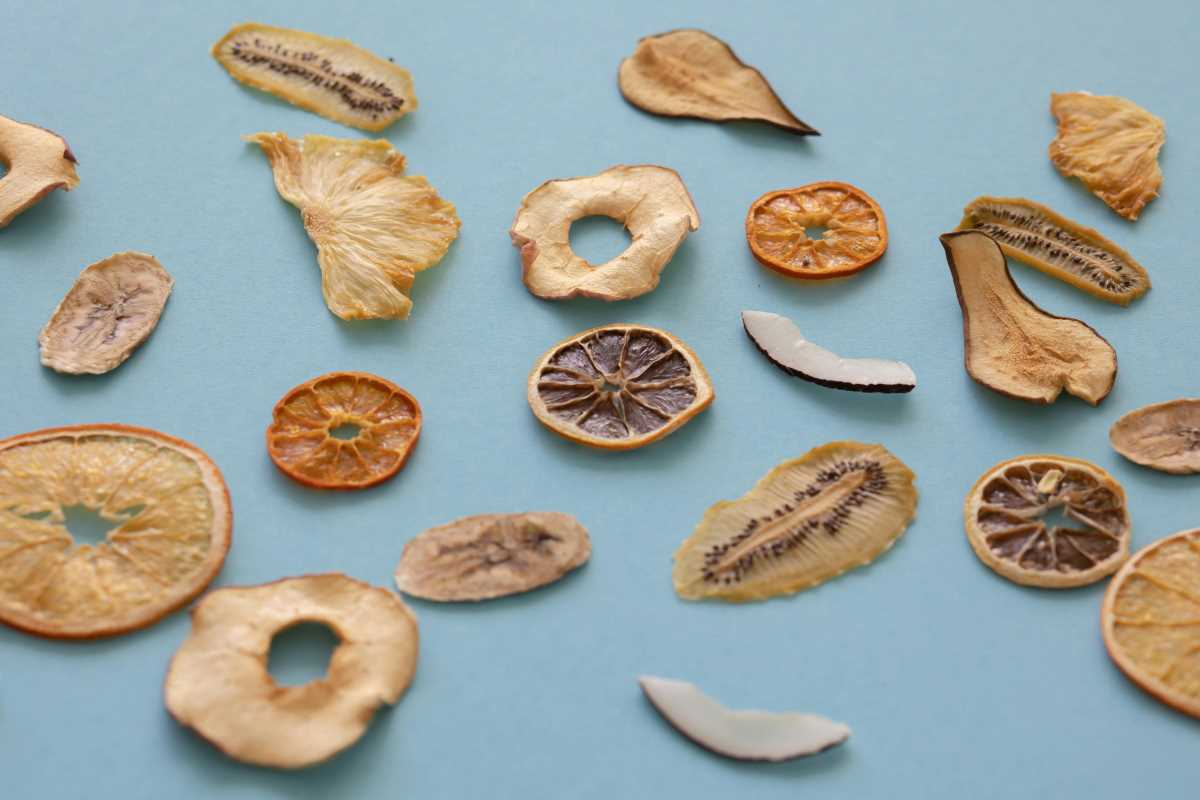
Using a homemade grain mill allows you to control the quality of your grains, ensuring that you consume the freshest possible ingredients. This personal touch benefits your health and supports local agriculture if you choose to source your grains locally.
Integrating Sustainable Cooking Practices
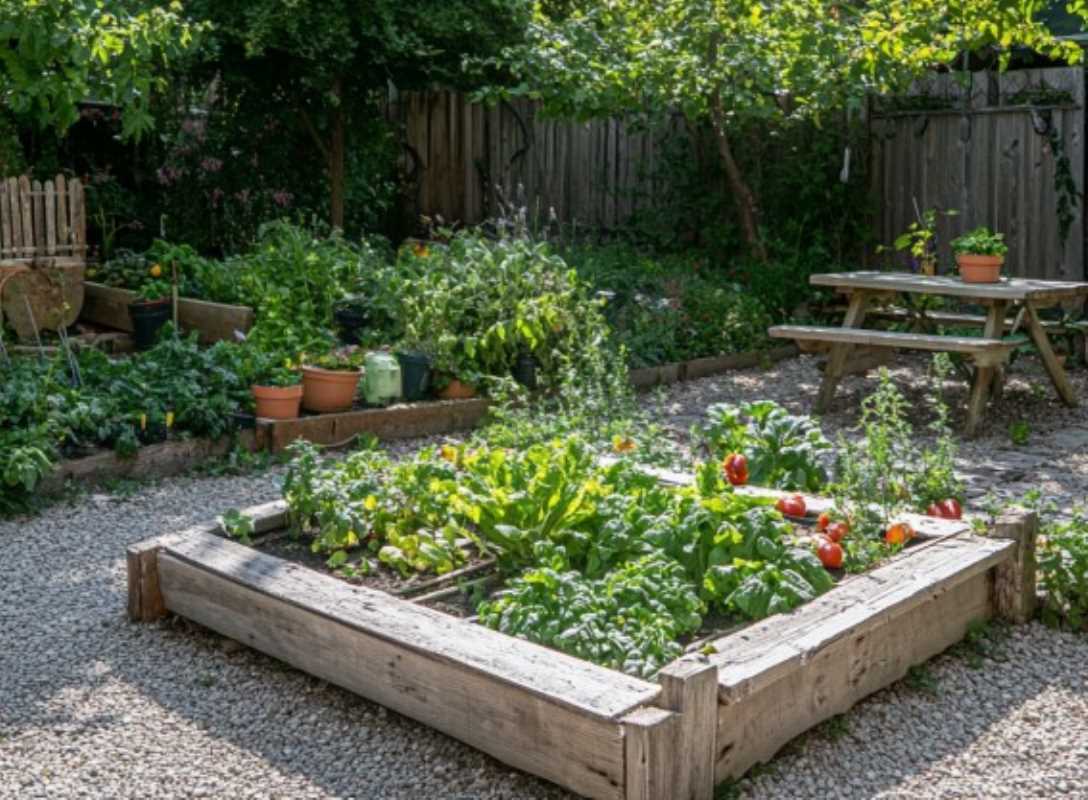
Utilizing your grain mill represents just one step towards a more sustainable kitchen. By grinding your own grains, you can bring ancient grains back to life in modern sustainable cooking. This practice reduces packaging waste and transportation emissions associated with pre-packaged grains. It allows for greater flexibility in your recipes, enabling you to experiment with various grain types and blends to suit your dietary preferences and nutritional needs.
Maintenance and Troubleshooting Tips
- Regularly clean the grinding plates to prevent residue buildup, which can affect performance.
- Lubricate the crank mechanism with eco-friendly oil to ensure smooth operation.
- Check all bolts and screws periodically, tightening them as needed to maintain stability.
- If the mill produces an inconsistent grind, adjust the alignment of the grinding plates to ensure even pressure.
- Store the grain mill in a dry place to prevent rust and deterioration of recycled materials.
For common issues like jamming or uneven grinding, refer to the alignment and tightness of your components. Ensuring that all parts move freely and are securely fastened minimizes downtime and extends the lifespan of your grain mill.
Create a zero-waste grain mill at home to embrace eco-friendly living and reduce waste. Enjoy fresh grains while positively impacting the environment.